
There are several gummy bear dissections that I’ve come across and used in the past. I wanted to make the lesson something simple that did not require print-outs. Pandemic teaching has taught me that I can very much reduce the amount of papers I copy and hand to students.
In this version, the instructions are on Google Slides, I plan to put them on the overhead rather than make copies. Though, you could make copies, the print version in Google slides can even reduce the number. Another tip with Google Slides is to use the download option to print a single page, so you cold print the page that shows the grid layout rather than have students make their own.
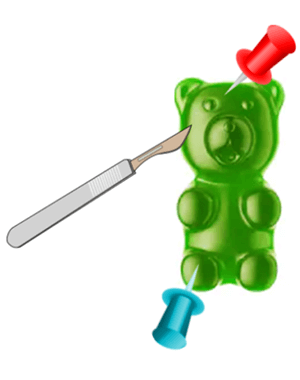
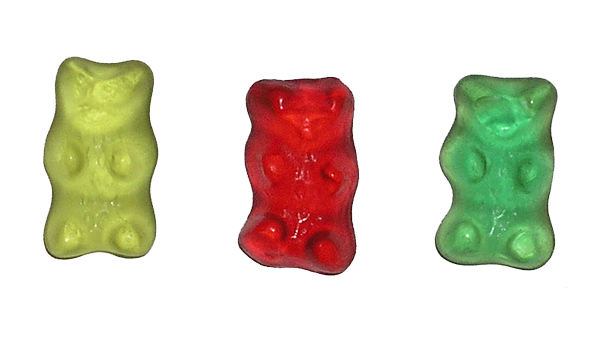
Students will need a scalpel, at least 8 gummy bears, and colored pins. You may also want to caution students about eating the gummy bears if they are using unsterilized equipment. I usually give them enough gummy bears to snack on and do the activity. You can order them in individual packs or large bags. I usually use disposable scalpels and save them to use in the next dissections.
Students will make a grid layout on their desk with neon markers or on paper. Each gummy bear is cut to illustrate anatomical position and terminology. For example, the students could remove the top part of the gummy bear to show a coronal slice. They lay the gummy bear face down to show supine position.
To show medial and lateral, students will use colored pins. The red pin in the image above indicates a medial position and the blue pin is lateral. You may even want to explain this terminology as you go and provide verbal step-by-step instructions. I include the basics in their lecture slides for the first unit of anatomy.
Finally, students will either have their work checked in class or can upload a photo of their completed project to Google Classroom or other LMS.