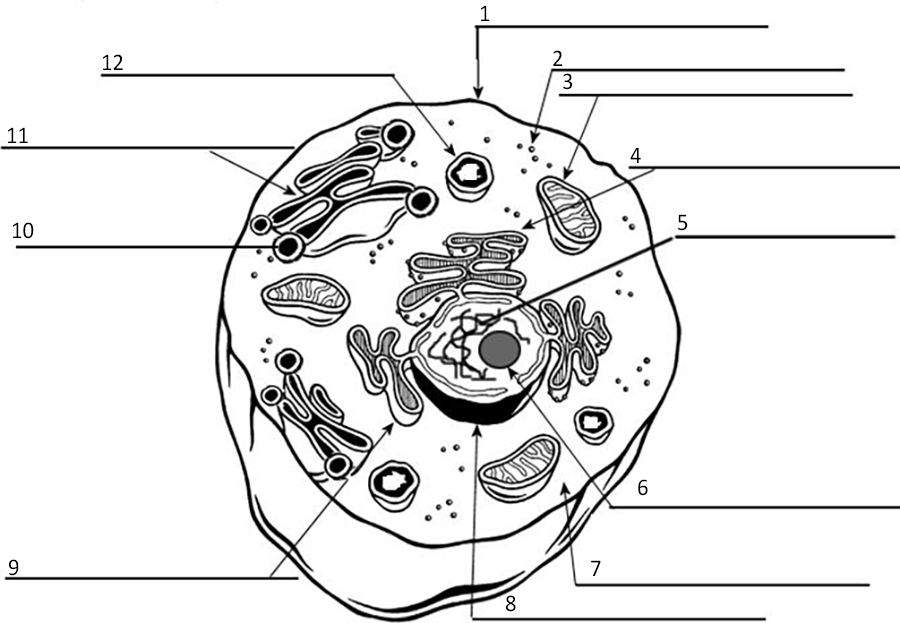
Handouts are now discouraged in face-to-face learning, and many students will be working from home for at least part of the semester. This has necessitated some basic changes to how these types of handouts are shared with students. The goal is to create documents that online students (even those who may be in your class working on Chromebooks) do not need to complete exercises on paper. There are a few ways this can be done.
- If you have access to adobe acrobat, you can convert files from Word into PDF and then use the “Prepare Form” function. This will add text boxes that can be filled in. You can also use drop-down fields if you want to provide students with choices in how to label the diagram. Students will need to download the pdf in order to fill in the fields.
- Open Google Draw and import the diagram. Then use “insert” to create text boxes where students can fill in the labels. Don’t forget when assigning this to students on Google classroom to make a copy for each student.
- You can leave documents in an un-editable form and students can use an addon like “Kami” to annotate the document.
Other cell labeling diagrams are better given as printouts.


