Introduction to the Light Microscrope

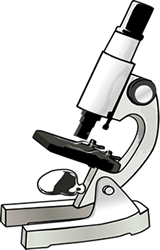
1. Examine your microscope. Familiarize yourself with the parts of the microscope.
The magnification written on the ocular lens (eyepiece) is _____
The magnification written on: the scanning objective _____ x
the low power objective is ______x the high power objective is ______x
2. The total magnification using the lenses can be determined by multiplying the objective lens with the ocular lens. What is the total magnification of an item viewed with the:
LOW power objective. _____ The HIGH POWER _______ The SCANNING _______
3. Examine the diaphragm (underneath the stage).
The numbers on the edge of it range from ONE to ___________
4. Look into the eyepiece, twist it left and right. Notice the line inside that moves as you twist. (Some microscopes do not have this, see if you can find one that does in the room).
What do you think this is for? _____________________________________________
5. Place the slide of the "letter e" on the stage so that the letter is over the hole and is right side up.
A) Use the scanning objective to view the letter and use the coarse knob to focus.
B) Repeat on the low power objective, also using the coarse knob to focus. You may need to recenter your e.
C) Finally, switch to high power. Remember at this point, you should only use the FINE adjustment knob.
**If you do steps above correctly, you should only part of the "e" on high power**
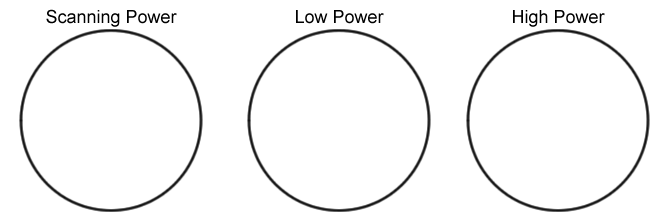
Draw the "e" as it appears at each magnification. Drawings should be drawn to scale and you should note the orientation of the e in the viewing field (is it upside down or right side up?)
Have your partner push the slide to the left while you view it through the lens.
Which direction does th E appear to move? __________________
6. Random Specimens
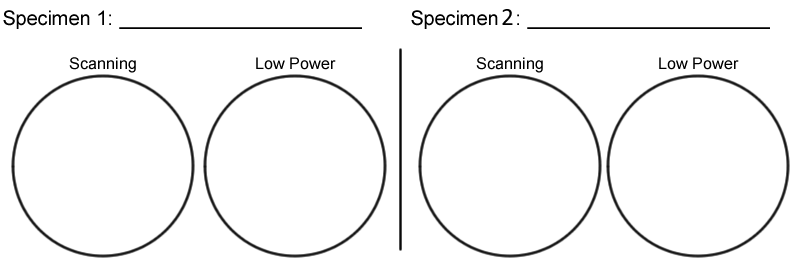
Choose 2 specimens from the box of "common things". Use the circles below to sketch your specimens under SCANNING and LOW power. You may practice focusing with the high power, but you do not need to sketch it on high power. Exercise caution, some slides say that high power is not possible because the slide is too thick. Label your specimens from the name written on the slide.
Obtain a slide with three different colored threads on it. View the slide under scanning and then low power. You should note that you could only focus on one colored thread at one time. Figure out which thread is on top by lowering your stage all the way, then slowly raising it until the thread comes into focus. The first thread to come into focus is the one on top.
Which color thread is on top? _____________
Which color thread is in the middle? ______________
Which color thread is on the bottom? ____________
8. Answer true or false to each of the statements
__________ On high power, you should use the coarse adjustment knob.
__________ The diaphragm determines how much light shines on the specimen.
__________ The low power objective has a greater magnification than the scanning
objective.
__________ The fine focus knob visibly moves the stage up and down.
__________ Images viewed in the microscope will appear upside down.
__________ If a slide is thick, only parts of the specimen may come into focus.
__________ The type of microscope you are using is a scanning microscope.
__________ For viewing, microscope slides should be placed on the objective.
__________ In order to switch from low to high power, you must rotate the
revolving nosepiece.
__________ The total magnification of a microscope is determined by adding
the ocular lens power to the objective lens power.
9. (Mini-Essay) One of the most challenging tasks in this exercise is focusing using the high power objective. If your lab partner says they can't find the "e" on high power, what suggestions would you make to help her learn to use the microscope. Be specific and clear and answer this question in a complete sentence.
Other Microscope Activities
Label a Microscope - image of a basic classroom microscope for students to label parts
Microscope Coloring - learn the parts of the microscope by coloring
Microscope E Lab - Remote Edition - includes photos of slides viewed in class
Virtual Microscope by Bionetwork - use controls to view different specimens virtually